Set up the Mac and prove the loop
Prepare the Mac tools used to build iPhone apps. Create a small practice app, run it in a simulator, and check the screen.
Need a word explained? Open the glossary →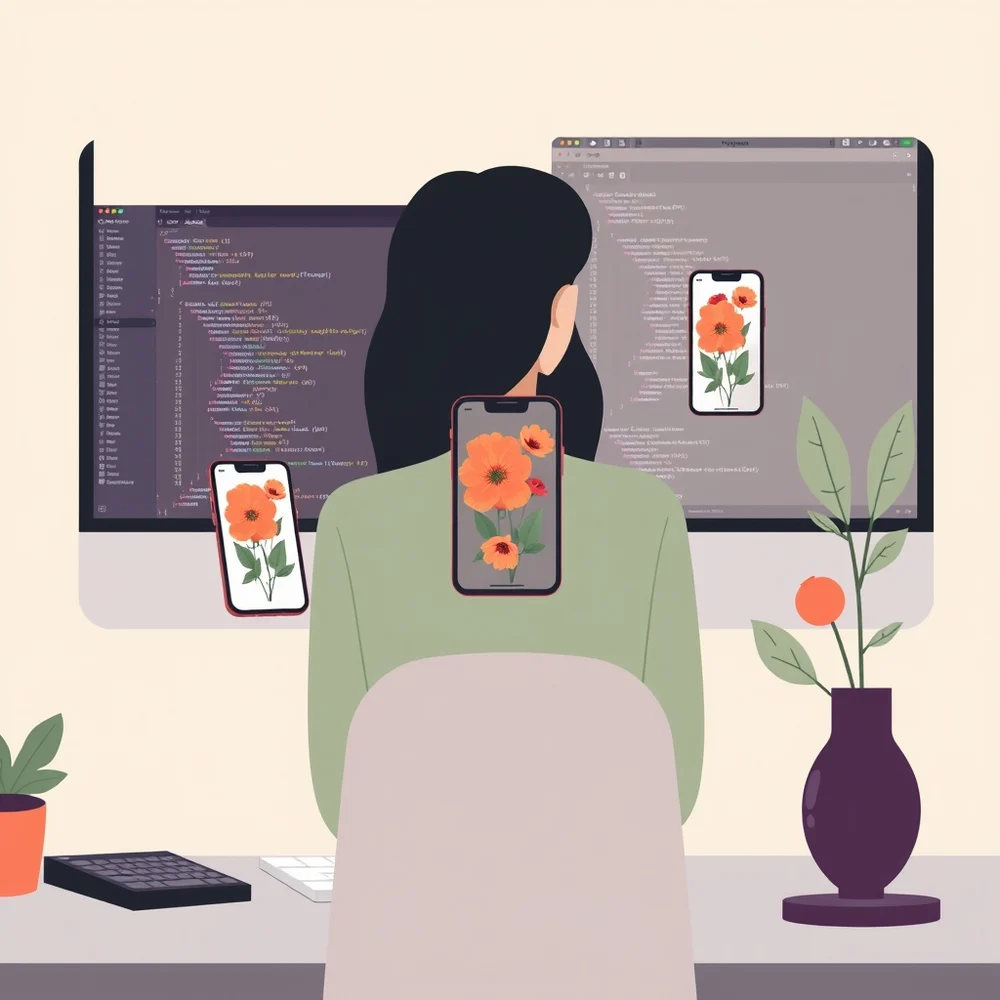
Full lesson & technical details
Xcode, simulators, Claude Code and computer use working together: Claude creates a project, builds it, launches the simulator, takes a screenshot and reads it.
The loop you are building
Claude writes Swift → xcodebuild compiles → simctl boots a simulator and installs the app → Claude screenshots the simulator and reads the image → Claude fixes what it sees → repeat. Everything else in this track is this loop at larger scale.
Three ways Claude touches Xcode
| Way | Used for |
|---|---|
Terminal (xcodebuild, xcrun simctl, swift) via Claude Code or Desktop Commander |
Building, testing, booting simulators, installing, launching, screenshots |
| Claude Code Desktop simulator pane (macOS) | Seeing the running app and tapping through it while Claude iterates |
| Computer use in the Claude desktop app | Xcode dialogs, signing settings, Simulator menus, App Store Connect in the browser |
CLAUDE.md: the project’s standing orders
A file at the project root that Claude Code reads every session. For iOS put: the app’s purpose, the target iOS version, SwiftUI only, MVVM with @Observable, the folder layout (App/, Features/, Models/, Services/, Resources/), the exact build and test commands, the simulator to use, the rule “run the build after every change and fix warnings”, and the rule “never change signing settings or bundle identifiers without asking”.
Proof loop (do all of it)
- Claude creates a new SwiftUI app
HelloZertikowith a bundle idcom.<you>.hellozertiko, iOS 18 minimum, usingxcodegenor a template so the project is created from the terminal (no clicking). xcodebuild -scheme HelloZertiko -destination 'platform=iOS Simulator,name=iPhone 16' buildsucceeds.xcrun simctl boot "iPhone 16", install the .app, launch it,xcrun simctl io booted screenshot shot.png.- Claude opens the screenshot and describes what it sees. Change the text, rebuild, re-screenshot: the text changed.
If step 4 works, Claude can see your app. That is what makes UI iteration possible without you in the loop.
Common first-day failures
“Unable to find a destination” → the iOS platform is not installed: Xcode → Settings → Components. “Signing requires a development team” → Xcode → Settings → Accounts, add your Apple ID; for the simulator, automatic signing with a personal team is fine. Simulator slow → quit other simulators; use one device.
Worked example
HelloZertiko
SwiftUI iOS app, iOS 18+, Swift 6, MVVM with @Observable. No UIKit unless unavoidable. No third-party packages without asking.
Layout
App/ (entry, routing) · Features/
Commands
Build: xcodebuild -scheme HelloZertiko -destination 'platform=iOS Simulator,name=iPhone 16' build Test: xcodebuild -scheme HelloZertiko -destination 'platform=iOS Simulator,name=iPhone 16' test Run: xcrun simctl boot "iPhone 16"; install the built .app; xcrun simctl launch booted {bundle id} Screenshot: xcrun simctl io booted screenshot /tmp/shot.png (then open and read it)
Rules
Build after every change; fix all warnings. Never change signing, team or bundle id without asking. Commit after each working feature.
Instructions you can copy (prompts)
Copy the instructions, replace the words inside {braces} with your details, and paste them into your AI tool. Check and edit the answer.
In Projects/ios create a SwiftUI iOS app named HelloZertiko (bundle id {bundle id}, iOS 18 minimum) from the terminal using xcodegen (install with Homebrew if missing) with folders App/, Features/, Models/, Services/, Resources/. Write CLAUDE.md with: purpose, SwiftUI-only, MVVM with @Observable, folder layout, the exact xcodebuild build and test commands for the iPhone 16 simulator, “build after every change and fix warnings”, and “never change signing or bundle identifiers without asking”. Build it, boot the iPhone 16 simulator, install and launch the app, take a screenshot with simctl, open it and describe what you see. Then change the greeting text to “Hello, Zertiko”, rebuild, relaunch, screenshot again and confirm the change is visible.Run the proof loop. Paste Claude’s description of the second screenshot and the output of `xcodebuild -version`.
Done when: Claude built, launched, screenshotted, changed and re-verified an app without you clicking in Xcode.. Sign up to save your work to your account.
Quick knowledge check
3 questions, 60% passes. Checkpoints, the certification exam (three versions) and the reviewed final project are unlocked with a free account.
- The core iteration loop is:
- CLAUDE.md is:
- “Unable to find a destination” usually means: